How we dye the background color
Coloring = Dyeing
Coloring means dyeing in Tegaki(hand drawn) Kyo-Yuzen techniques.
Dyeing is the process of adding color to textile products. It’s the same idea when you use the word “hair dye”. Dyeing your hair means coloring your hair and Dyeing silk means coloring silk.
Dyeing silk with “Hikizome” dyeing techniques
Hikizome is the traditional Japanese dyeing technique which we color the background with brushes.
What do you use?
We use these tools to dye silk.
- 1.Dyes
- 2.Brushes
- 3.Shinshi(Sticks)
- 4.Harigi(wooden clothespins)
1.Dyes
First of all, we choose which color matches to our products. After that, a craftsman makes the color following a color sample we give. This is the process called “color matching” then the process of making dyes is complete.

This is the dye. It’s kind of hard to tell what kind of color it is, but this is light purple.
2.Brushes
A Brush is a tool to dye silk.
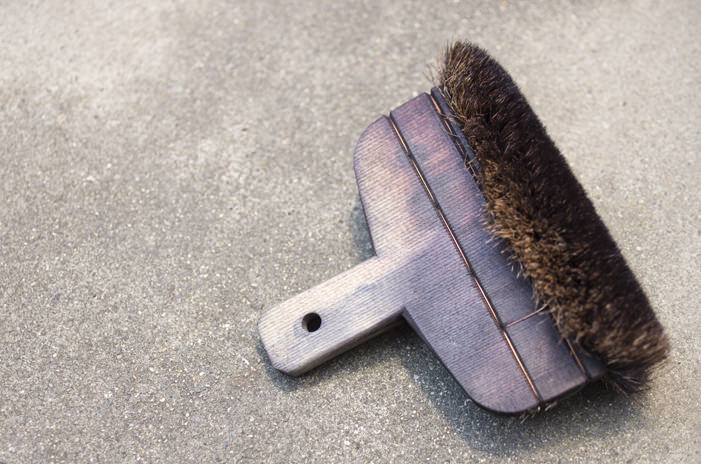
This is the brush. It’s 15cm/5.9″ which fits in your hand.
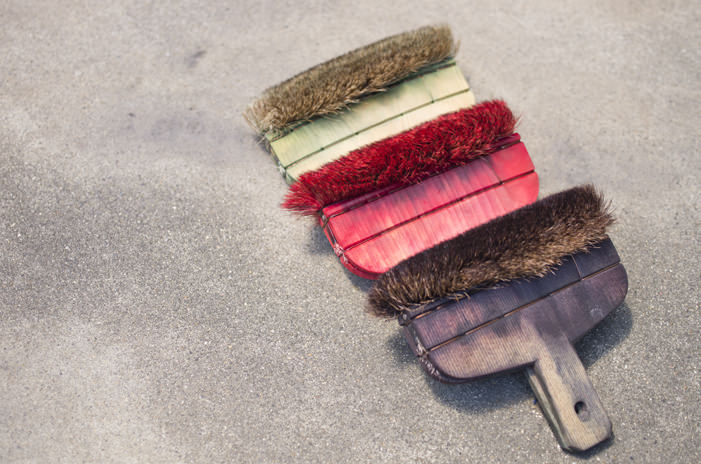
Different brushes are used for different colors.
The craftsman has many brushes to deal with a lot of colors to dye even though they are the same type of brushes.
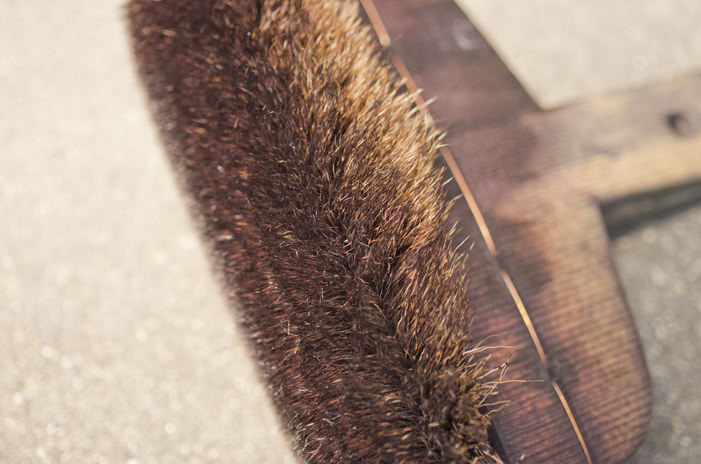
Deer hair is used for all brushes.
It looks very hard, but actually it’s very soft and feeling great!
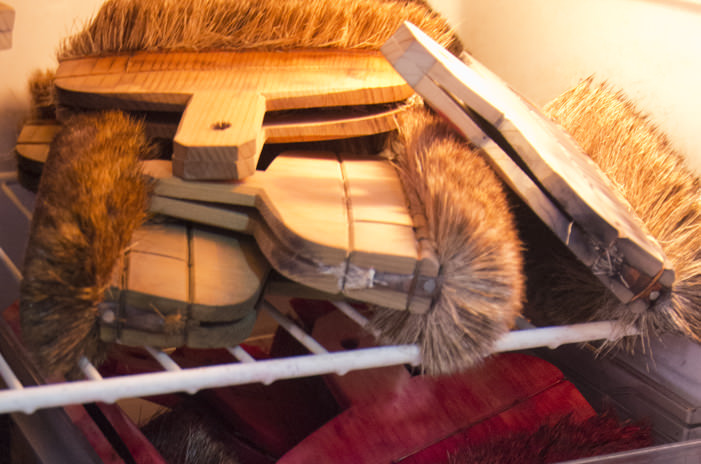
After used them, they are needed to wash and dry.
And then they are kept in a refrigerator otherwise the hair will get spoiled.
3.Shinshi(Sticks)
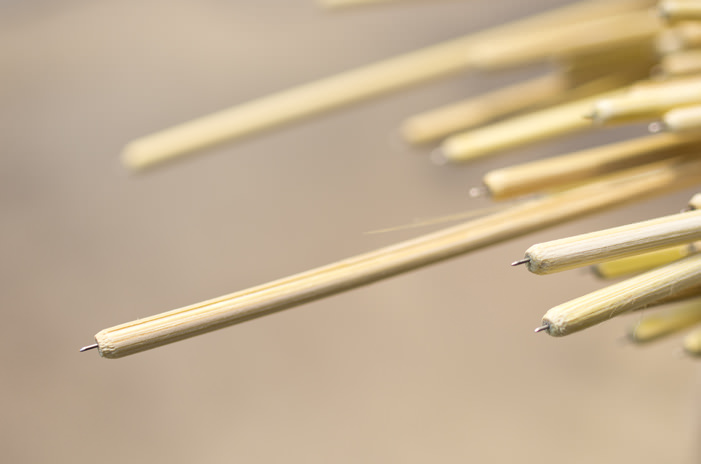
Shinshi is a tool to keep a cloth flat during dyeing. Without it, it’s not possible to dye the cloth evenly.
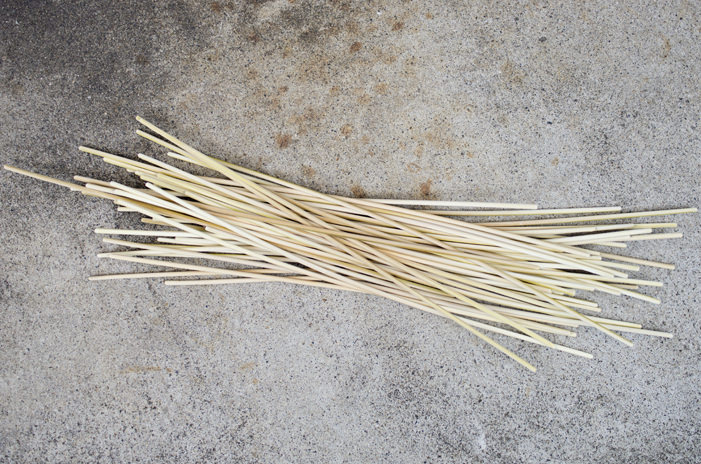
Shinshi is made of bamboo and has needles(5mm/1.97″) coming out each end.
By the way, we use the same silk for iPad shoulder bags as we do for our Kimono.
How many lengths of the roll of silk is?
It’s about 12meters/131yards or 16meters/174yards.
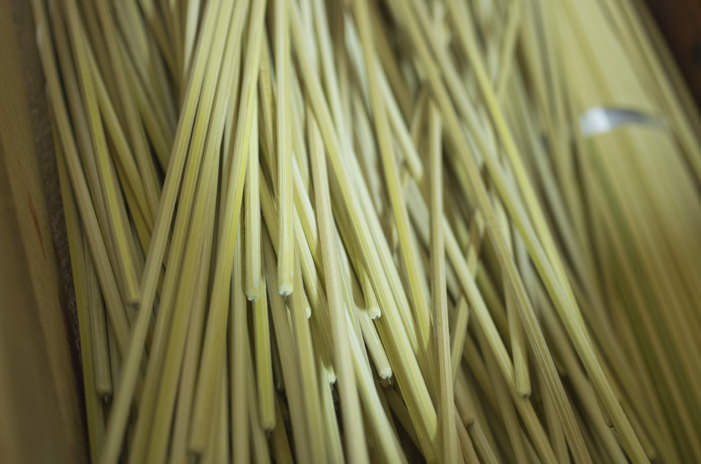
The cloth is so long that 80-100 Shinshi is needed to make it flat during dyeing at 1 time.
A craftsman has hundreds of Shinshi because he dyes several works to dye for 1 day. And once he used them, he needs to wash.
4.Harigi(wooden clothespin)
Harigi is a wooden clothespin tied to pillars and fixed to the ends of the cloth to stretch it along its length.
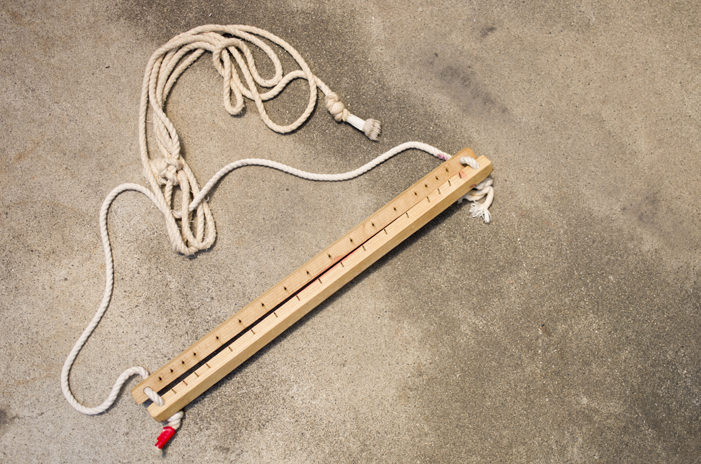
A rope is on a Harigi like this.
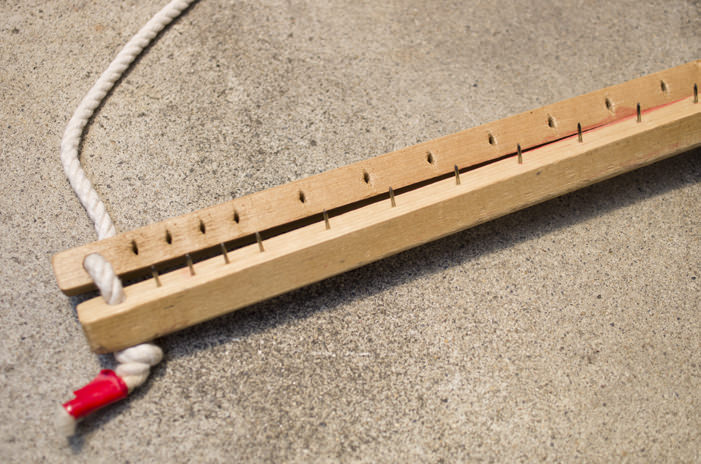
There are tiny holes on a Harigi. The needles are inserted into the edges of the cloth.
The width of a Harigi is 44.5cm/20″. It’s a bit wider than the width of the cloth which is 38cm/15″.
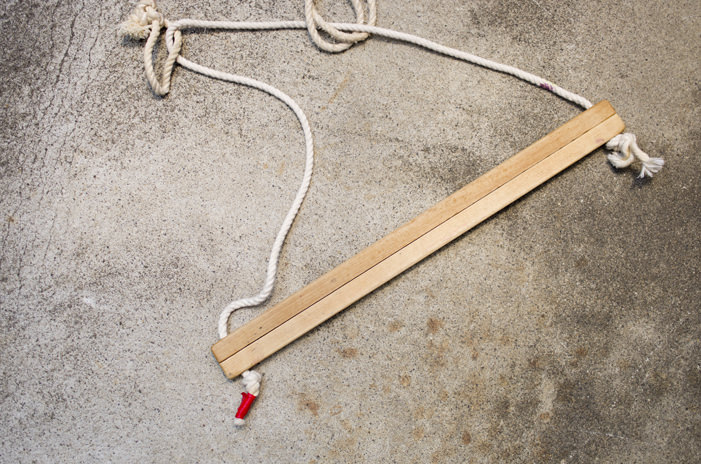
Close it.
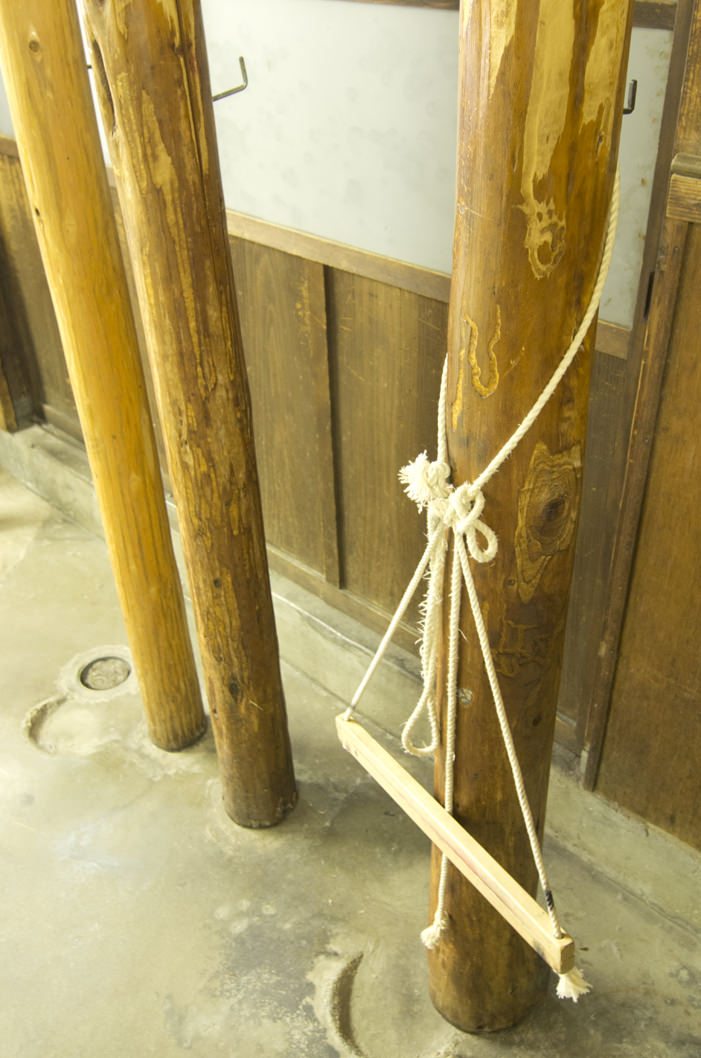
It’s tied to a pillar.
How is the cloth dyed?
Hikizome is needed to follow the required steps below.
- 1.Color matching(color making)
- 2.Preparing for Jiire
- 3.Stretching the cloth with Shinshi
- 4.Jiire
- 5.Dyeing
1.Color matching(color making)
The craftsman checks with his eyes again and again if the color of a dye he made is really matching to the one we want him to make.
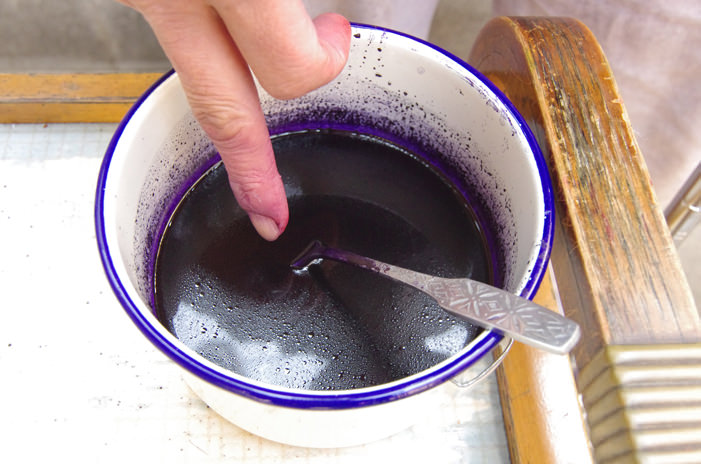
The dye is mixed with water.
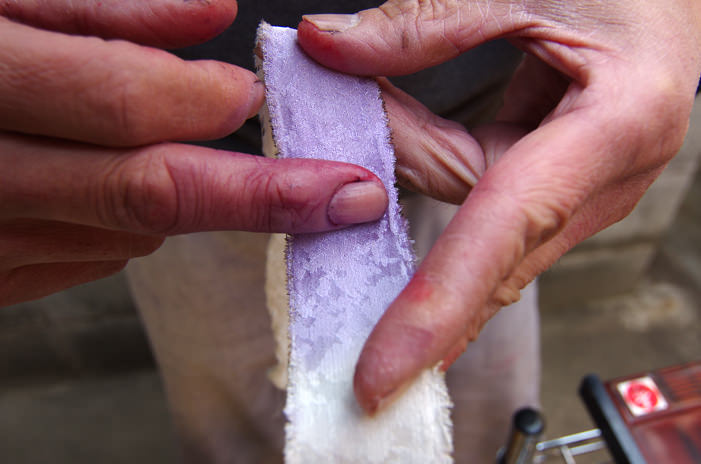
Test the color on a small cloth.
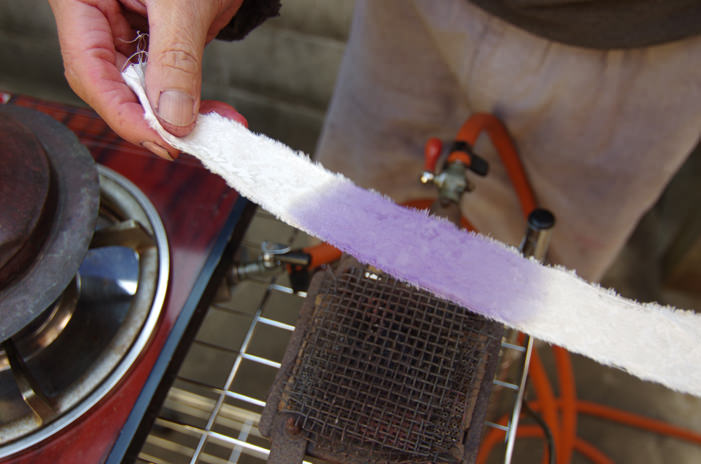
After that, the cloth is heated by a heating device until it gets dry.
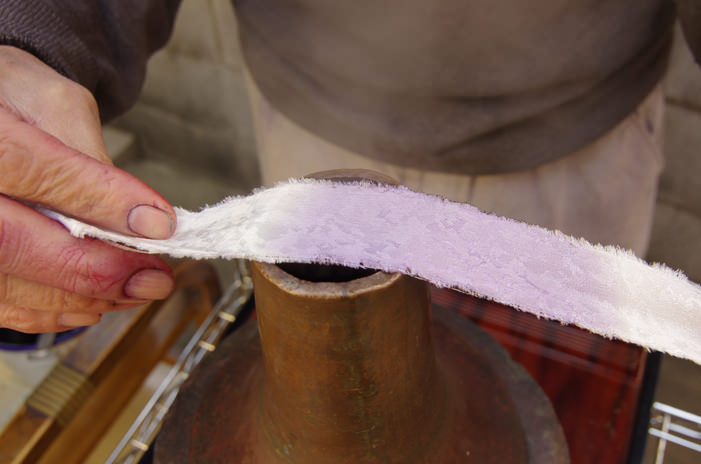
After the process of dyeing is done, the cloth is steamed to make the color become stabilized.
By steaming, the color becomes more vivid. The craftsman needs to think carefully how much the the color changes after steaming.
He estimates how that changes using a very simplified steaming machine.
If he misreads the change, the color is going to be wrong one which is not what we want.
This work is always required its long experience and sense.
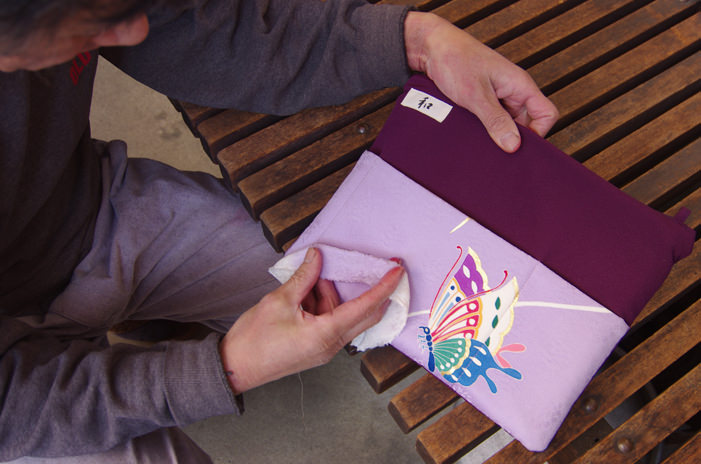
Check if the color of a dye he makes is the same one as we want.
After making fine adjustments to get the right color, finally the process of making color is done.
2.Preparing for Jiire
Before the craftsman dyes the cloth, it is needed to get pretreated.
Jiire is the process of sizing the cloth using soy bean juice, seaweed glue and water, so that it helps preventing from having unevenness in dyeing, and adds more full-bodied color as protein help coagulate.
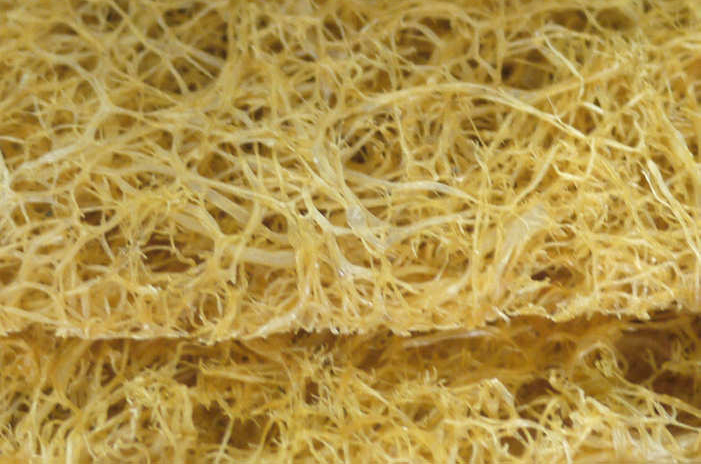
This is a kind of seaweeds called “glue plant”.
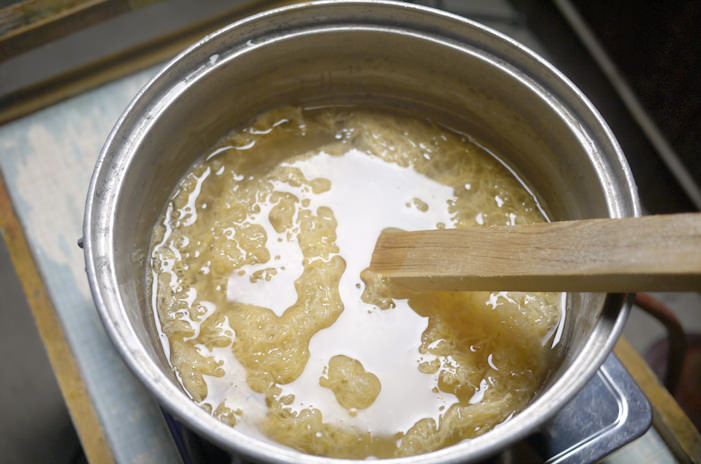
Glue plant is mixed with water and soy bean juice.
Soy bean juice helps to fix the dye into the cloth well.
Glue plant helps having evenness in dyeing.
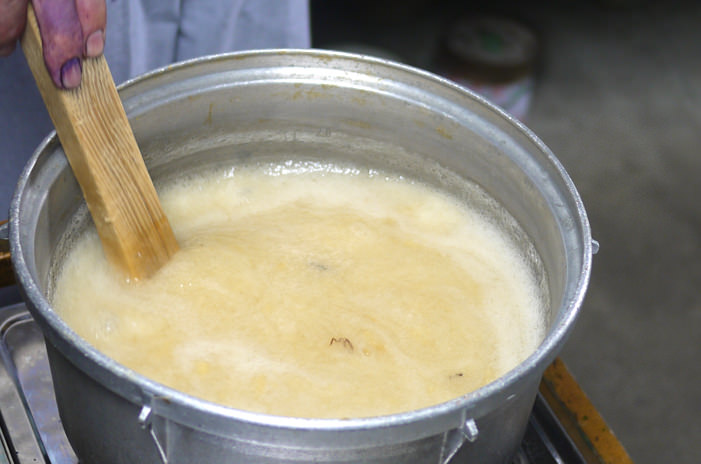
Glue plant is meting now as water boils up.
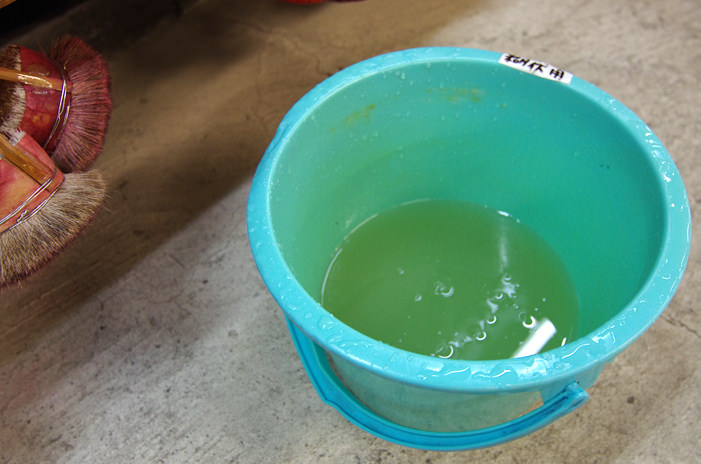
When it melts completely, it turns to be like this.
This is called “Jiire solution”.
3.Stretching the cloth with Shinshi
Before he dyes the cloth, Shinshi is inserted into the cloth.
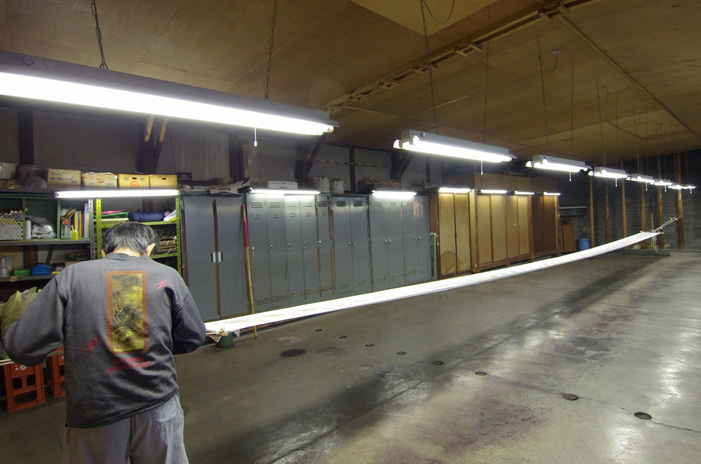
Harigi is tied to pillars and the cloth is floating now.
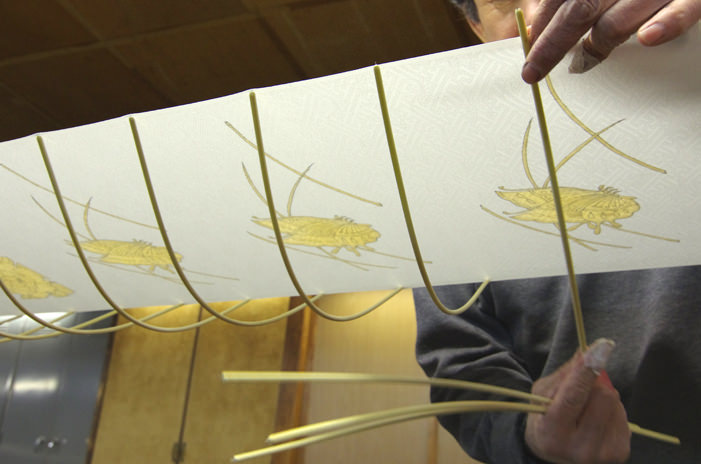
Shinshi is bent and the needles are inserted into the edges of the cloth to leave a space of 15cm/5.9″, tensioning the cloth across its width.
Shinshi is so pliable that it can’t get broken easily.
4.Jiire
Finally, the cloth is pretreated using the Jiire solution he made earlier.
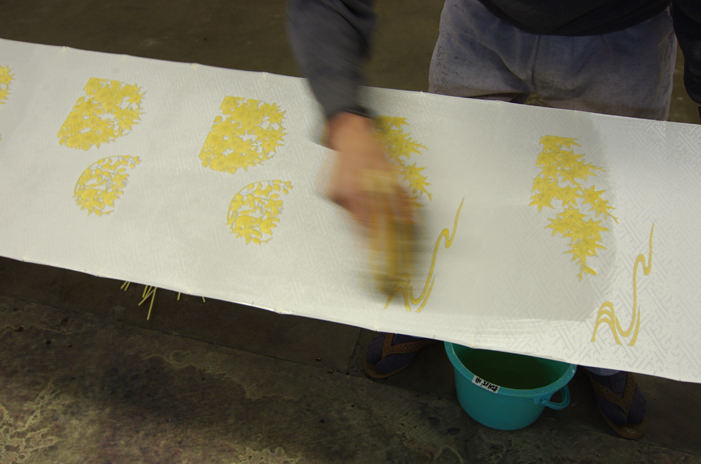
The masking for these patterns are completely dry so that they don’t come off easily.
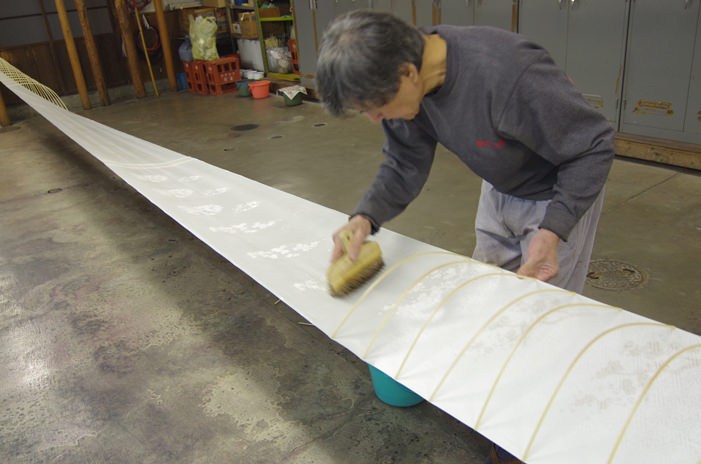
Check the back as well. Then the pretreatment is done.
5.Dyeing
After Jiire solution is completely dry, the cloth is ready to get dyed.
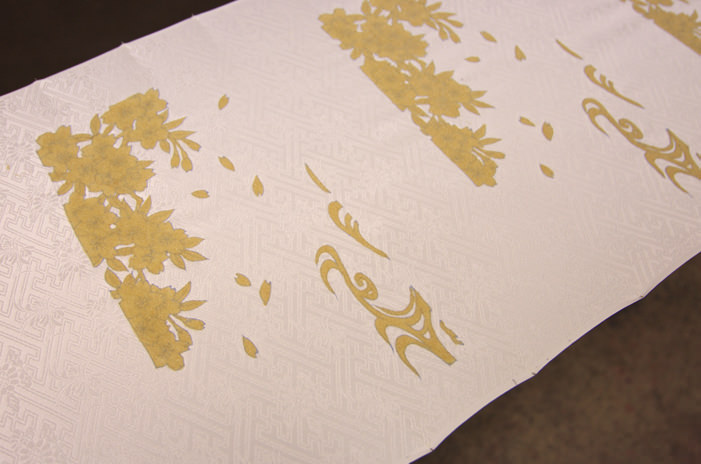
When I didn’t know anything about Tegaki(hand drawn) Kyo-Yuzen, I didn’t get why the masking was on the patterns. But when I saw this process, I understand the reason.
The patterns which are covered with glues, are not being dyed so that only background(which is not covered with) is going to get colored.
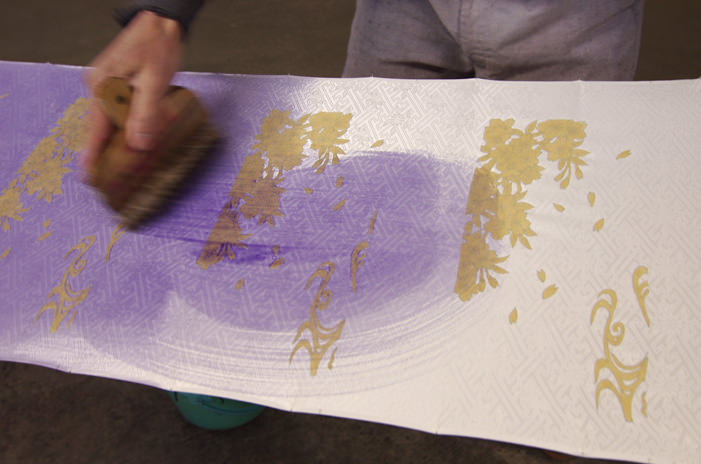
The cloth is colored by brushing with a dye.
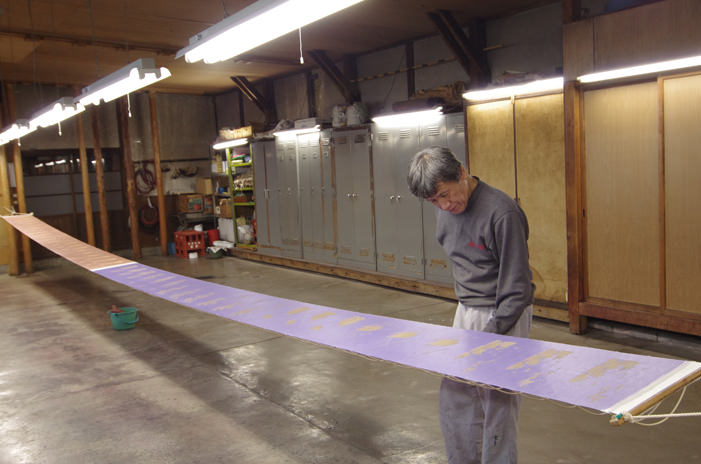
This is the final check if the cloth is able to get dyed evenly.
It looks pretty easy, but it’s very hard to dye the cloth evenly.
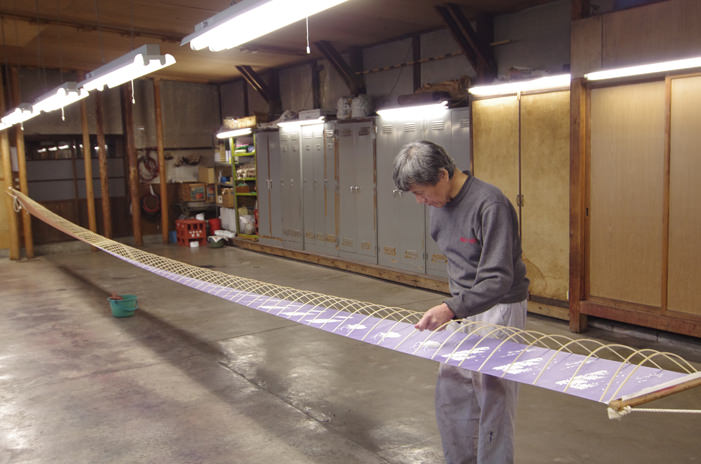
Check the back as well.
Conclusion
The single word “Dyeing” covers these 5 processes.
We tell the craftsman what kind of color we want first and then he makes the dye, Jiire solution and then dyes the cloth. It takes at least 3days that the plain white silk turns to be colored.
When he makes dyes, he changes the density of dyes to drop by drop until the color turns to be the right one. By doing this, the width of the selection of colors is widened and he is able to get much more interesting or sometimes unexpected colors than the ones that machines make.
Take a look at our iPad shoulder bags that are dyed through this process above.

